
Hello everyone, today I am going to show you how can we install pgAdmin graphical web interface on your server in order to easily manage all your databases. I will be doing this on Ubuntu 20 but the process itself shouldn’t be that much different for Ubuntu 18 and Ubuntu 16. So let’s begin.
Before we begin working on anything let’s make sure we have everything up to date:
sudo apt update

sudo apt upgrade
Now we have to add APT repository for the PostgreSQL:
wget --quiet -O - https://www.postgresql.org/media/keys/ACCC4CF8.asc | sudo apt-key add -

sudo sh -c 'echo "deb https://ftp.postgresql.org/pub/pgadmin/pgadmin4/apt/$(lsb_release -cs) pgadmin4 main" > /etc/apt/sources.list.d/pgadmin4.list && apt update'
In case you get GPG error “GPG error: https://ftp.postgresql.org/pub/pgadmin/pgadmin4/apt/focal pgadmin4 InRelease: The following signatures couldn’t be verified because the public key is not available: NO_PUBKEY 8881B2A8210976F2”
Just do:
sudo apt-key adv --keyserver keyserver.ubuntu.com --recv-keys <PUBKEY>So in my case it would be:
sudo apt-key adv --keyserver keyserver.ubuntu.com --recv-keys 8881B2A8210976F2After that do another:
sudo apt updateand then just go and execute:
sudo apt install pgadmin4Press Y and wait for the installation to finish. Once it’s done it’s time for us to configure the installation. So go on and execute:
sudo /usr/pgadmin4/bin/setup-web.shYou will be prompted for email, make sure you are using this email for admin purposes and you will also be prompted for admin password so make sure that you also generate a very strong password. After you press Enter you will be prompted:
“We can now configure the Apache Web server for you. This involves enabling the wsgi module and configuring the pgAdmin 4 application to mount at /pgadmin4. Do you wish to continue (y/n)?”
In case you want it to set up and configure everything for you and also put it on your SERVER IP/pgadmin4 or well domain.com/pgadmin4 press Y.
Next you will get:
“The Apache web server is running and must be restarted for the pgAdmin 4 installation to complete. Continue (y/n)?“
Logically you will press Y here as well as it’s highly recommended to restart the server as well as service later on. After you do that you will be informed that Apache restarted and that you can now reach pgAdmin in web mode:
“Apache successfully restarted. You can now start using pgAdmin 4 in web mode at http://127.0.0.1/pgadmin4“
You will now be able to see login screen on your serverip|domain/pgadmin4:

NOTE: It’s expected to have port 80 opened in order to be able to use this web interface.
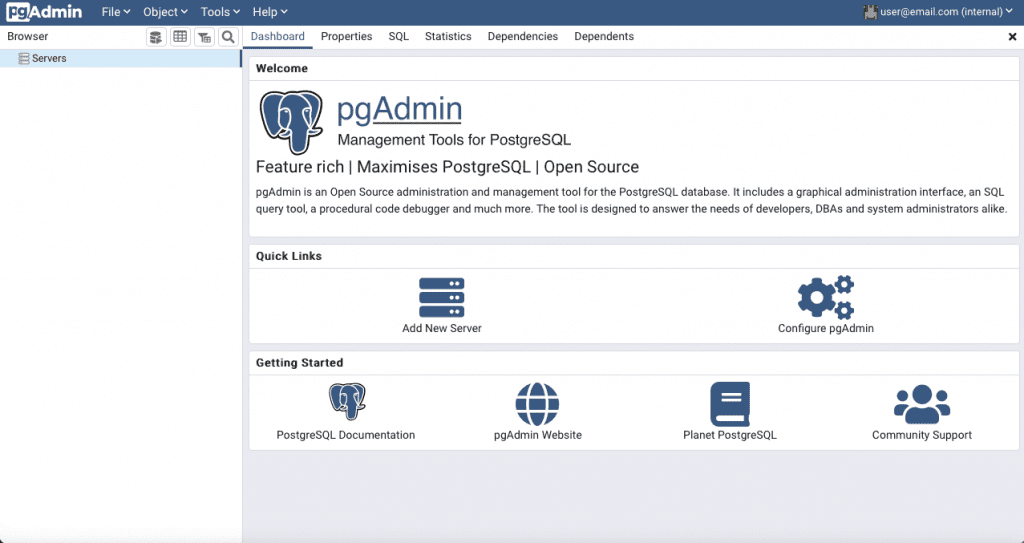
Type in the email you chose and the strong password in the previous steps and you will be finally inside ready to add the servers:
That’s all for today. Stay tuned for the next article!
0 Comments