Even though it might not be as popular as GitHub or GitLab is, Code Commit can be very capable when it comes to deploying production systems. I’ve used to be a big fan of GitHub but lately, I’ve become very neutral as I’ve learned that in most cases it comes to either personal taste or project/client requirements when choosing between these three services. So let’s start with creating a secured CodeCommit repository.
Creating CodeCommit Repository
Login into AWS Console and search for CodeCommit, you can’t miss it really.

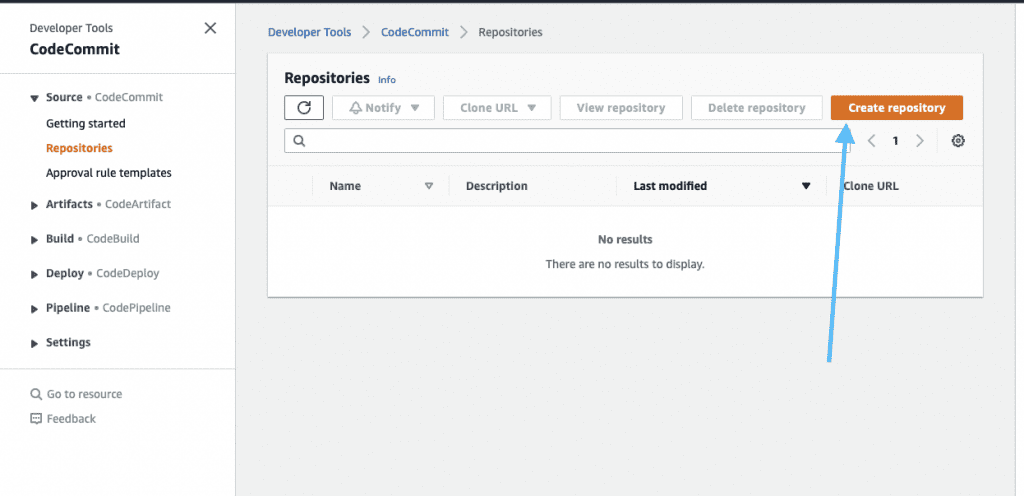
Click here and you will find yourself inside the main CodeCommit dashboard. It might seem like there is a lot of things to be done but don’t worry, I will make sure we go step by step. So logically the first step would be to create a repository that we will be working on later. So make sure to click on the orange Create repository button.
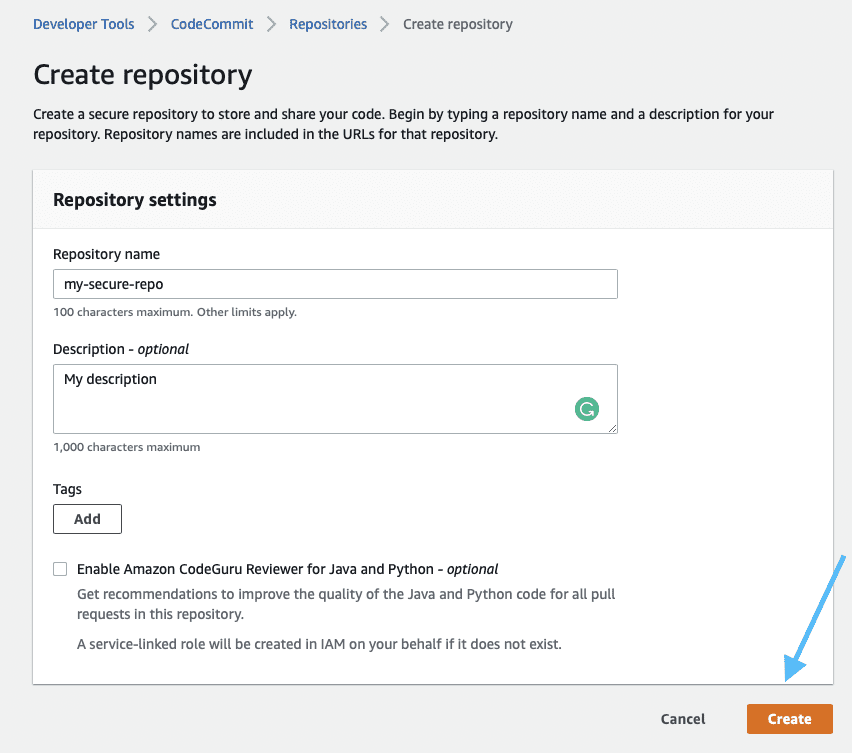
Once you click there you will be met with the repository settings screen which is pretty much self-explanatory. Fill in all the required information and click on the orange Create button. In case you are using a repository for Java or Python and need CodeGuru Reviewer to make sure to check the box that says Enable Amazon CodeGuru Reviewer for Java and Python – optional.
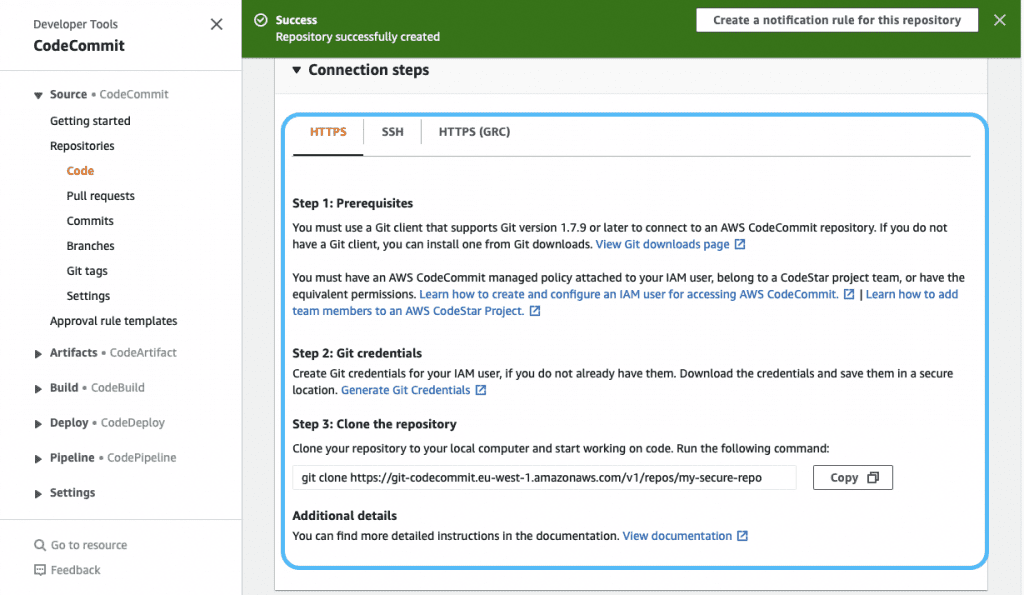
After you click create button, the repository will be created and you will be introduced to connection steps in order to start using the repository that you’ve just created. In this guide, we will go and choose HTTPS as a preferred way of connecting to our repo. The steps themselves are already explained on the screen and it’s assumed that you are to be familiar with basic git commands. In case you need a fresh reminder, check out this git cheatsheet.
Generating IAM HTTPS Credentials
So now that we have the repository created let’s go into your user’s IAM page and generate fresh git credentials for us to use to connect to the repository we’ve just created. Click on search, choose IAM.

After you click on IAM you will be redirected to the main IAM Dashboard. Please click on users on the left side of your screen then choose your own user.
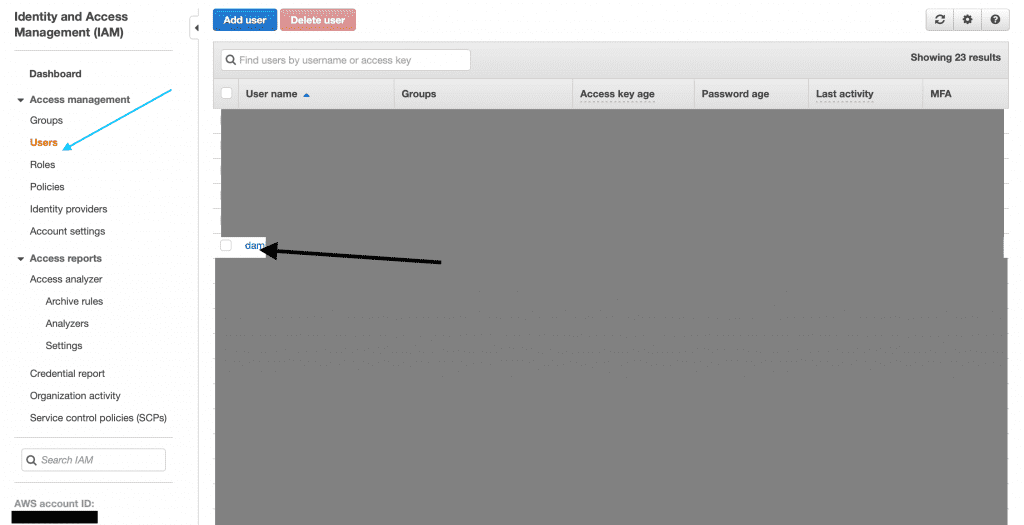
After you clicked on your own user you will be redirected to your personal IAM screen. It should look something like this:
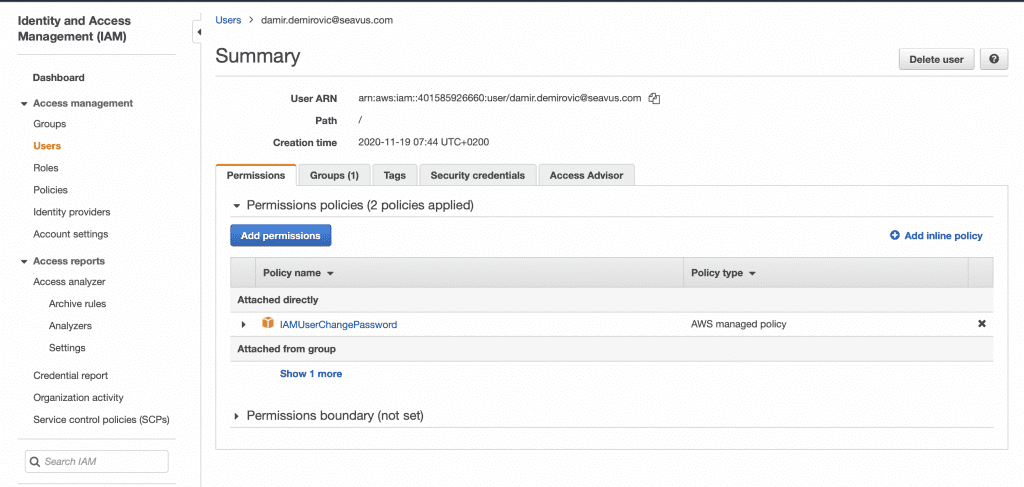
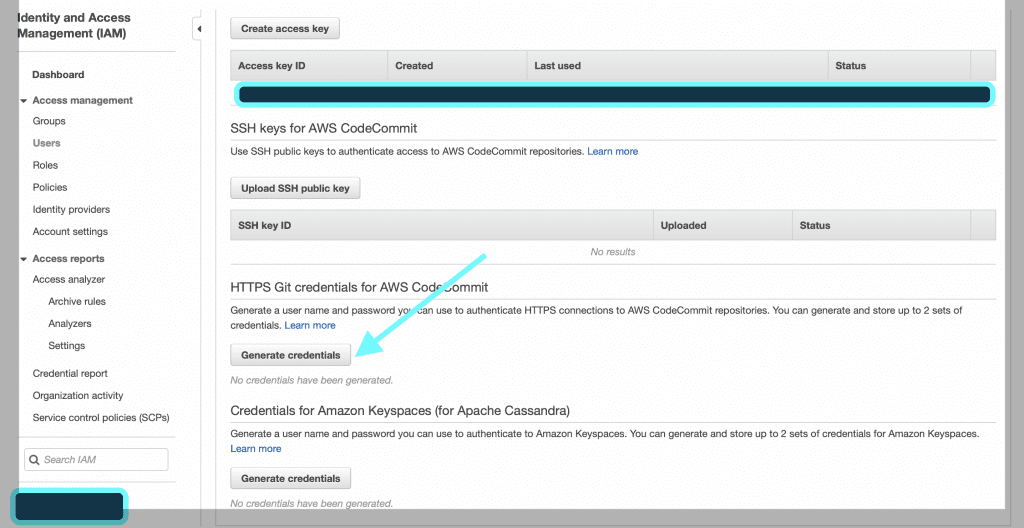
As you can see in the middle of the screen there are several tabs. Make sure you click on the tab called Security credentials and scroll all the way down till you see HTTP Git credentials for AWS CodeCommit and click on the button Generate credentials.
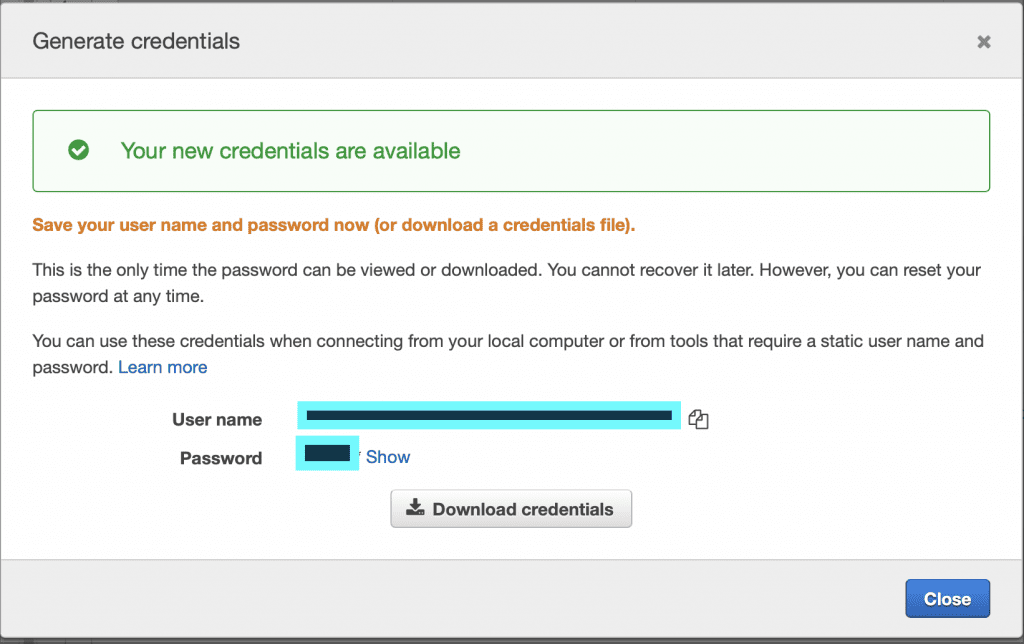
Give it a second after you’ve clicked on the button and you will see a popup that will show you your credentials and let you download them as CSV file on your local machine as well in case you want to have a backup.
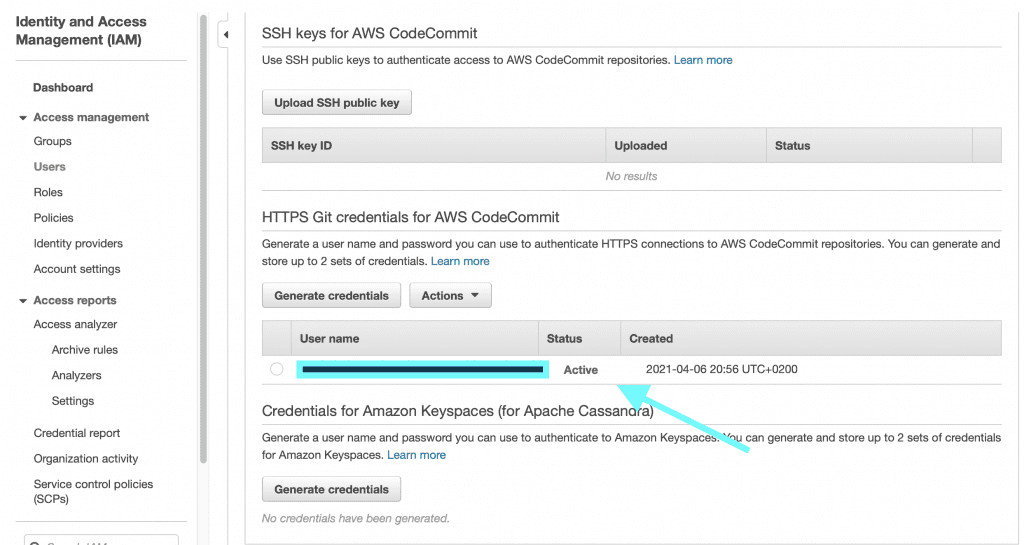
After you get your credentials and download the file, you should be seeing an active status now.
How to Connect
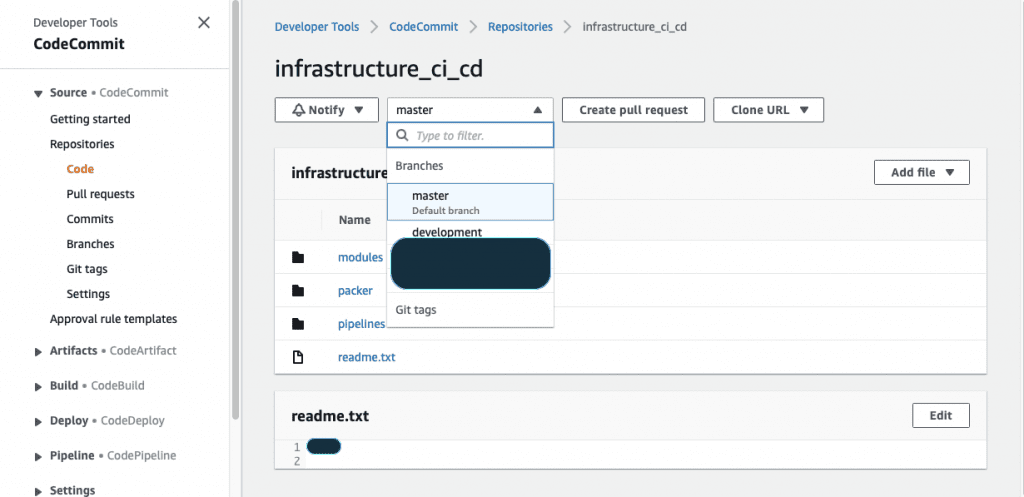
Now after we’ve generated git credentials that we need in order to connect to our repository let’s go back to CodeCommit and make sure that we have at least two branches. The usual scenario with the simpler project is having one development branch and one master or main production branch. You can do that via git or user interface inside CodeCommit. I will skip explaining that since it’s fairly easy if you know git which is a prerequisite for this guide.
And in order to get connection steps you would have to click on Clone URL button and then inside the dropdown, click on Connection steps.
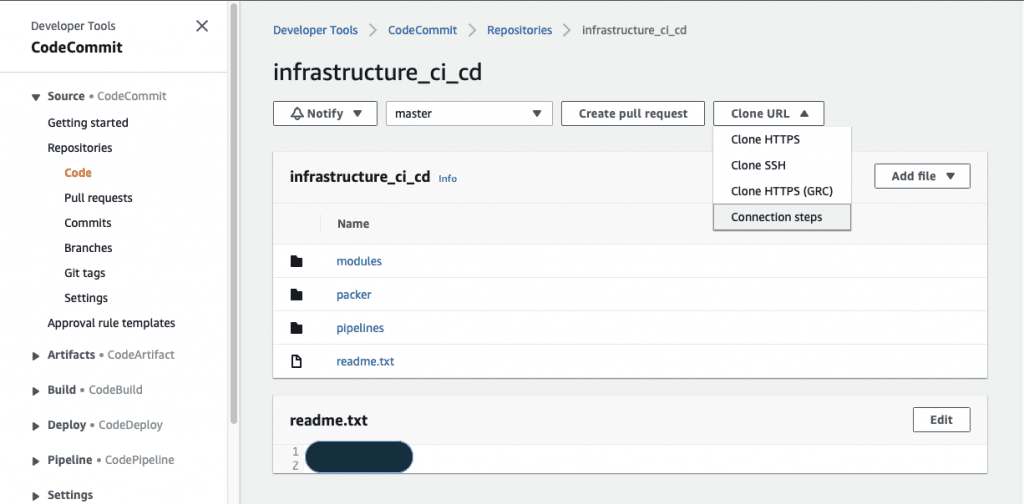
You will see the screen with instructions there, make sure you follow them and enter credentials generated previously in your personal IAM screen. You should be connected and able to use all the git commands now.
Additional Securing Steps
One very good feature I love about CodeCommit is Approval rule templates. It will help you set up the whole push release approval process with one or more users acting as admins, approving those push releases from one branch to another, etc… So let’s create an approval rule template and see how it works.
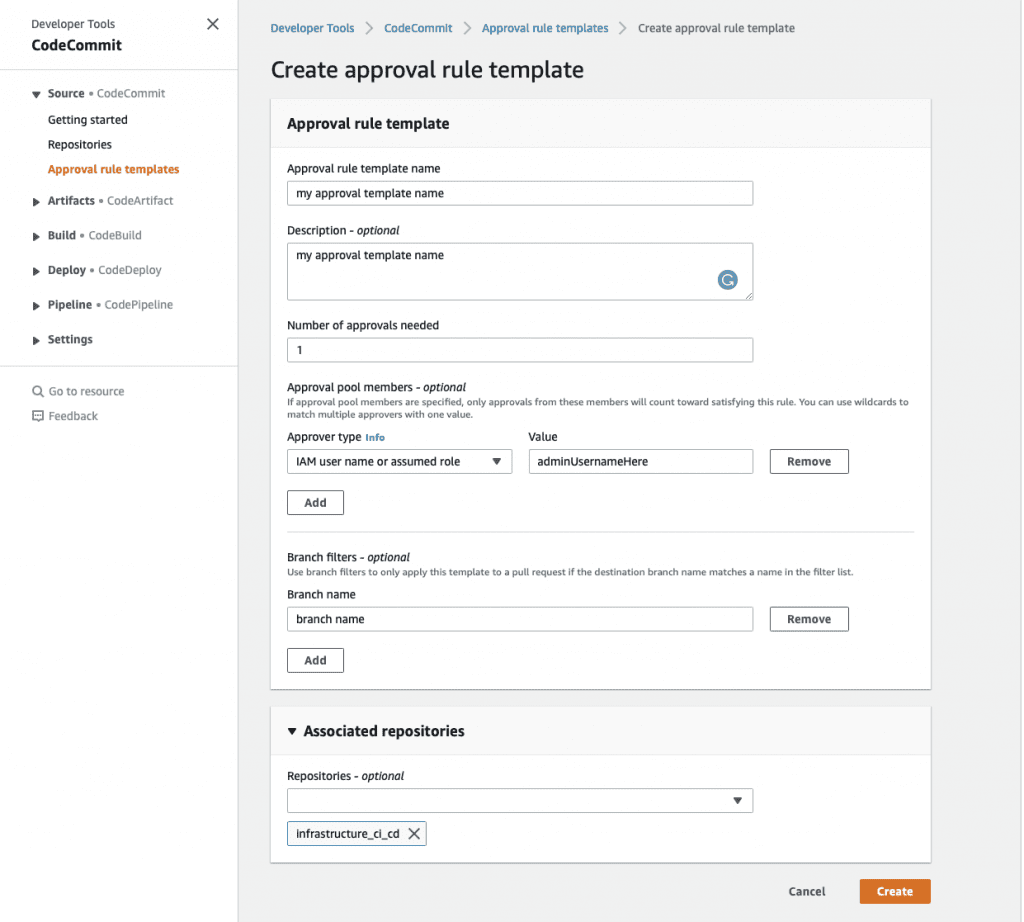
So let explain everything from the screenshot. Approval rule template name and Description are kinda self-explanatory. Number of approvals needed is how many approvals are needed in order to for push release to get released. Approval pool members is where it gets funny. You can add all “admins” here. You can choose to either add IAM username or role or full ARN of the user that will be in for approvals. As you can see in the picture, it could be more than one user. Branch filters are also very handy. Here you can say that the approval rule template will apply ONLY if it matches the branch name. Also as you can see, you could add more than one branch. Associated repositories is where you choose for which repositories this approval rule template will be applied.
Another small feature is the notifications feature where you or the admin could get notified in case there is any action on the repo. It can be highly customized and I won’t be going over that now. It’s also important to mention that if your repo is communicating with other services, it should be restricted ONLY to be accessible by that service. Usually done via policies and permissions.
It’s assumed that your IAM user has programmatic access and MFA token turned on as well as all the policies set up previously as mentioned here. Here is also an image for better understanding.

So that’s all for today, I hope you’ve learned how to create a secured CodeCommit repository today.

0 Comments